

Also known as the first dungeon in the New World that is actually challenging, ‘The Depths’ can only be cleared with the right guidance. You need to ensure that you have the perfect character build, alongside a reliable party that has a good understanding of the game’s mechanics. So, without further ado, let’s begin.
The First Room
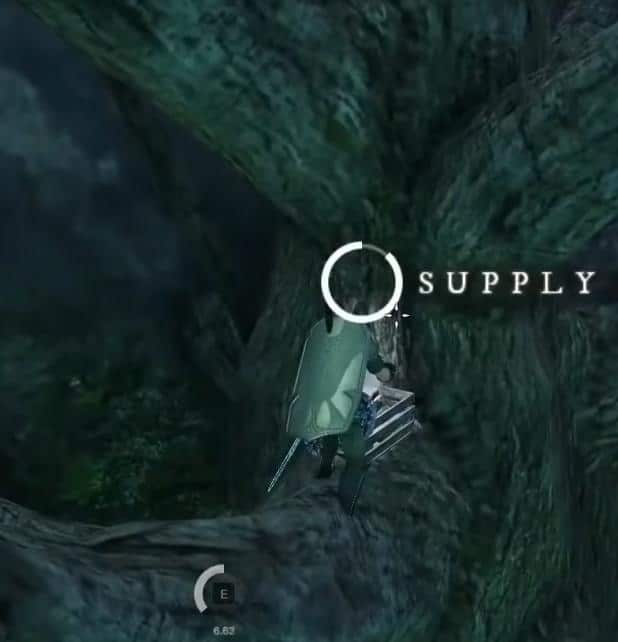
When you enter the expedition, you need to first climb a tree. You’ll find a chest there at the higher branches, which only takes a few seconds of your time. Now, you need to go left from there while killing every mob you encounter. You can utilize your Azoth Staff to activate the orb, and then return to the starting point with your party members to activate the central tower. A good suggestion would be to clear the room before activating it.
The Second Phase
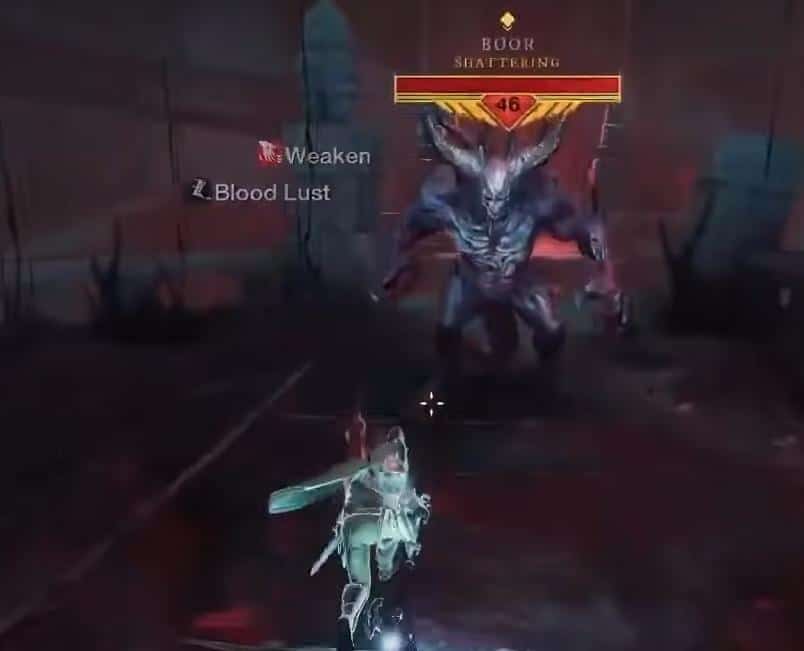
Moving along, you’ll encounter a mini-boss called Benat. You don’t need any real strategy or experience to deal with him. Simply have your tank deal with the AGGRO while others move behind the boss and defeat him. Next, you need to fight your way through the corridors until you encounter the next mini-boss called Boor.
He isn’t tough to defeat and there’s nothing special about him that you need to know. Ask your tank to deal with the AGGRO to pull him away from the other party members. Defeat Boor and go right to fight your way through a horde of mobs until you reach the teleportation area.
The Core
The teleporter will move you to the central area of the dungeon, which is known as the core. As soon as you teleport, you’ll find a hidden chest behind the right pillar. Open it and progress further. You need to be careful about some of the enemies as they hit hard, so make sure that your tank is around to deal with the AGGRO. Once the area is cleared and you’re at the end, you’ll come across another teleporter, which will transport you to a challenge room.
There will be a central switch that one of the party members needs to stand on, and when that happens several enemies will be summoned for amrine excavation. Ask your healer to stand in the center of your grouping, while everyone else pulls the mobs to the middle. Once the glyphs are all lit up and the enemies are dead, you can utilize the Azoth Staff to open the gates.
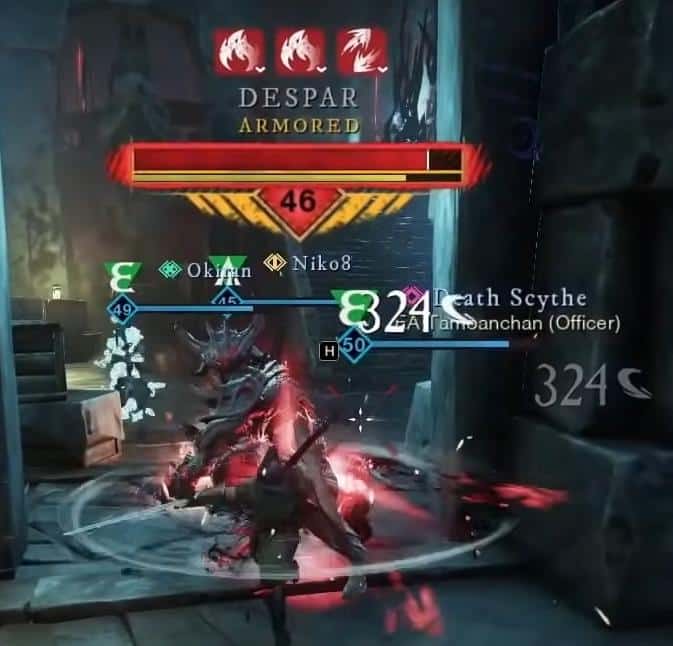
Defeat the enemies ahead and activate the next Azoth Seal to head upstairs. Stick right to locate the bonus boss called Despar. Similar to the other bosses you’ve encountered, defeat him and open the chest that is placed right of where the boss spawns. After he is defeated, cross the bridge, and walk through the corridor to reach the checkpoint. You’ll now be facing a challenging fight.
Archdeacon Azamela
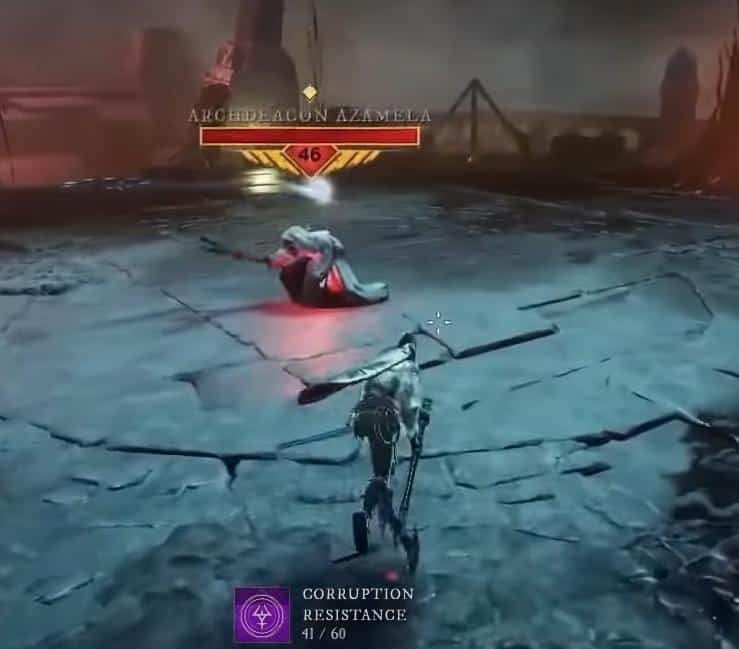
The fight may seem easy and straightforward at first, as you need to deal as much damage as you can while killing the hounds that he summons. The Tank’s job would be to AGGRO him and divert his attention so that his dreadful spells won’t damage the other party members.
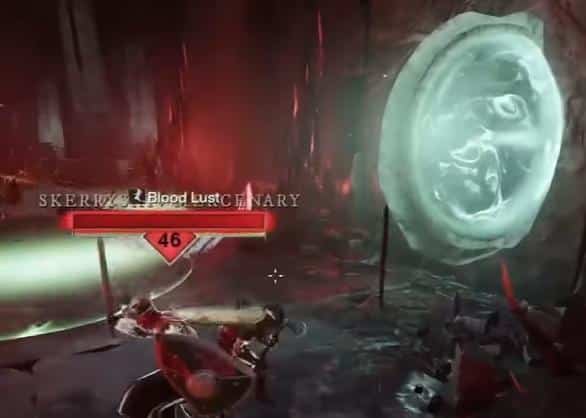
At half of his health, the boss will move to the center of the room and become invulnerable. He’ll start summoning mines, which is where the party needs to split up for amrine excavation. A DPS and the Tank need to be in the center to kill the spawned mines, while the other 3 party members utilize the teleporters to kill the mobs near the monolith. Once that’s done, an orb will spawn at the base and you have to destroy the monolith. After that, the 3 party members who used the teleporters need to return back to the center area. Also, don’t take too long to destroy the monolith or the boss will start to spawn several mines.
Repeat the same process a second time; however, the only difference is that there will be two teleporters and two monoliths. The two DPS who aren’t focused on the monolith needs to help destroy the mines in the central platform with ranged.
Thorpe
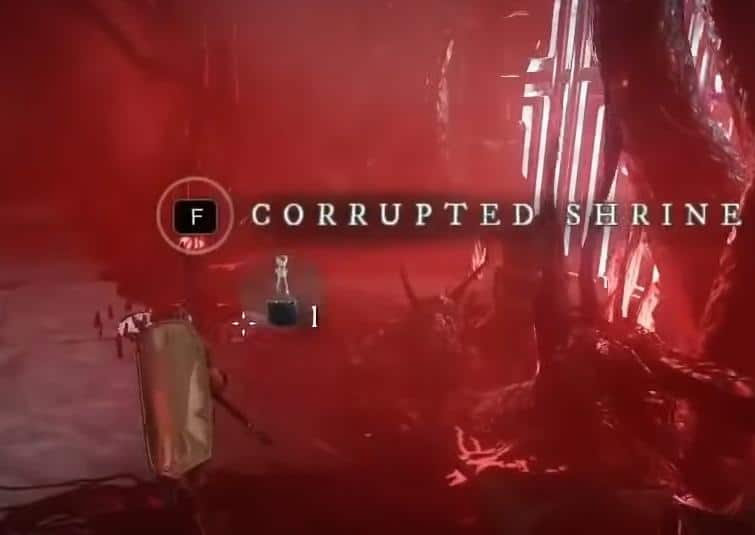
Once the Archdeacon is defeated, loot the chest to obtain Thorpe’s Key, and then head down the passage to access the next teleporter for new world expedition list. Use it to reach back to the core and fight your way around it until you come across the Corrupted Shrine. Use the obtained key on the shrine to expose the Carapace at the heart. Destroy it and teleport up, and before you do that, open the chest within the heart of the core.
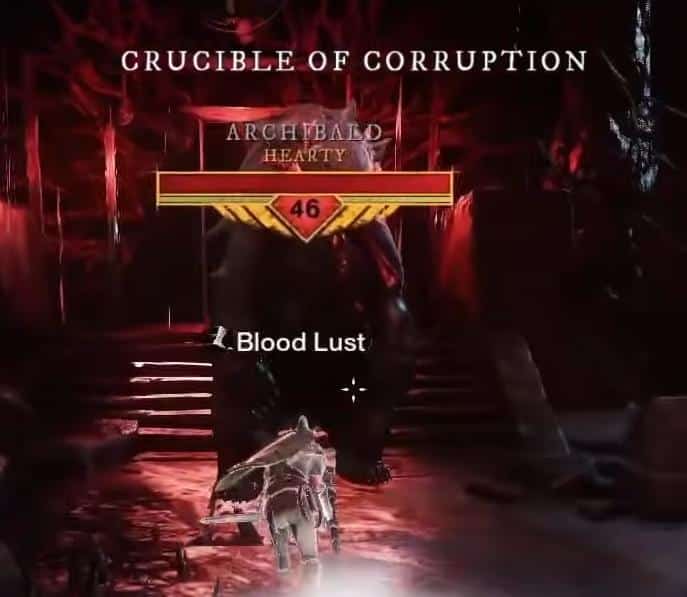
Once you’re through, kill a Corrupted Bear that is named Archibald, and then fight your way to the next monolith for new world expedition list. Three of the party members need to use their Azoth Staves to destroy it. Finally, run straight into Thorpe’s room.
The Final Boss
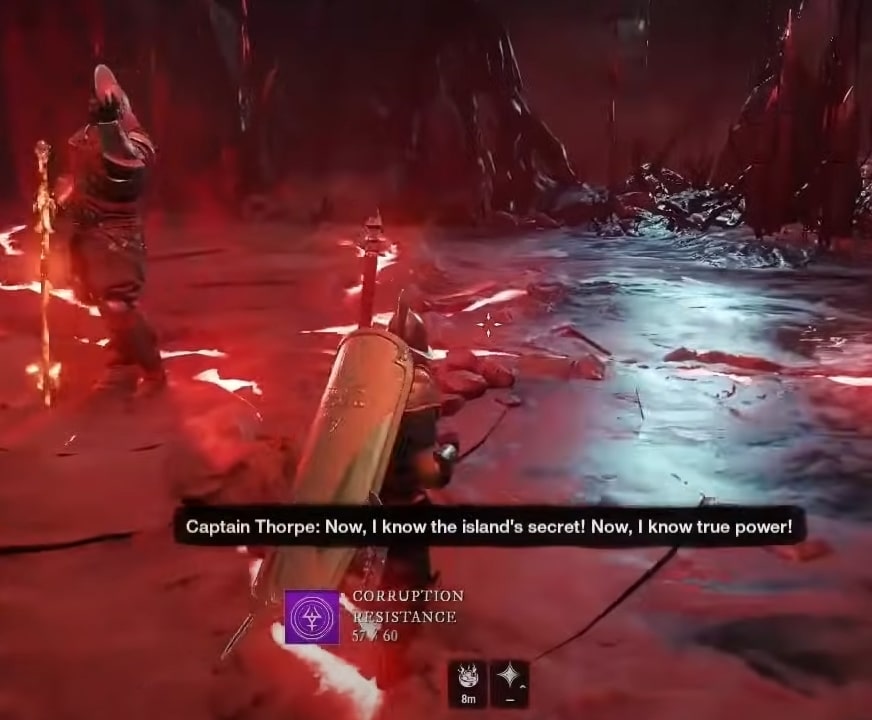
Commander Thorpe is a powerful boss that deals immense damage upon his enemies. While the tank is entirely focused on the commander, you need to be quick with the dodge button to block Thorpe’s attacks for new world expeditions. There are a total of three phases so the fight is going to be long.
The best strategy to defeat him would be to spread across the room. If you encounter a few melee-based mobs, you need to make sure that you’re behind the boss while attacking. Also, watch out for the Corrupted Blast attack, where he stabs his sword into the ground to launch a telegraphic attack. You can figure out the attack as he says ‘Time to tase corrupted steel’ before launching it for new world expeditions. Besides that, watch out for when his actions point at you because that’s when he casts an energy blast.
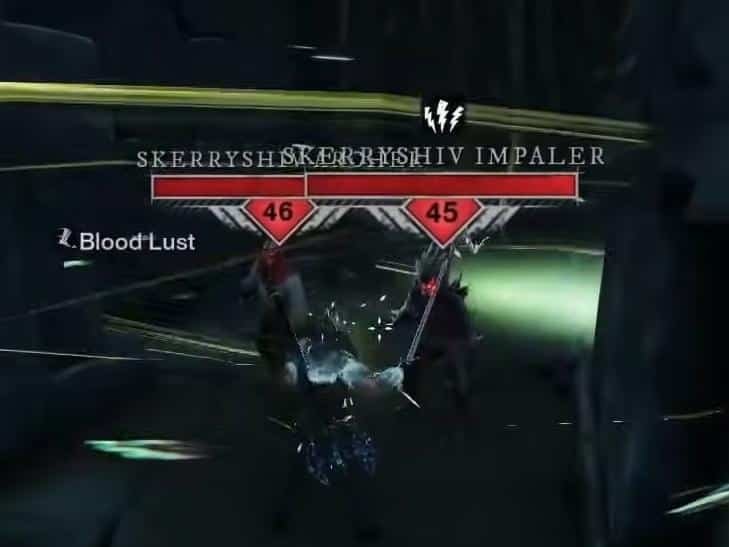
When he says ‘This will be the last time we meet,’ he’ll move to the center of the room and summon two dreadful mobs. The tank needs to AGGRO these two monsters, while the team defeats them. The most devastating move of Commander Thorpe is when he shoots a laser out of his fingers. You’ll know when the attack is coming as he says ‘Prepare to have your soul crushed.’ Since the attack sweeps up and covers the entire room, you need to quickly move behind him. Finally, once the boss is defeated, the dungeon will officially end.