RS3 1 to 99 Smithing Guide

Smithing is a skill available to both F2P (Free to Play) and P2P (Pay to Play) players. It is the process of turning mined ores into bars, and these bars can further be developed in various weapons, armor pieces, and other tools. Training smithing depends entirely upon whether you’re looking to make Runescape Gold or simply max out. In the following guide, we will show the fastest and the most efficient methods to max out your Smithing skill. So, read on!

Quests
The best and foremost way to skip a few starting levels of your Smithing skill is by completing quests. The only quest that offers experience in Smithing and can be done by a beginner is The Knight’s Sword quest. You will only require 10 Mining to progress further, and it’ll save you a lot of time because the quest will straightaway grant you 12,725 experiences that can help you achieve 29 levels. It will take you about 30 minutes to complete, after which, you can focus on Smithing Steel Bars and making Steel Plate Bodies until you hit level 30.

Levels 30 to 40

Once you hit level 30, you can start making Mithril Plate Bodies, and for this phase, you will need exactly 200 Mithril Bars. Yes, it is a slow method, but it provides a good amount of experience and doesn’t require you to spend much as it isn’t expensive.

Levels 40 to 50
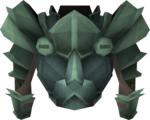
Once you hit level 40 for smithing training rs3, you can have numerous options to progress further. You can choose to destroy armors that also reward players with a good amount of experience per hour. However, it will drain a lot of RS3 Gold as you level up to reach the highest possible armor (Burial Armor). Alternatively, you can make Adamantium Plate Bodies, and for this method, you will need exactly 380 Adamantium Bars.

Levels 50 to 60

Once you hit level 50, you can easily level smithing with Burial equipment. You can progress five times faster by destroying +3 Rune Plate Bodies, rather than creating them from scratch. If you’re wealthy enough, then I suppose this method would be an ideal choice to go with. Alternatively, you can stick to Smithing Rune Plate Bodies from zero to the highest possible equipment, and this method will require you to have exactly 720 Rune Bars.

Levels 60 to 70
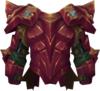
Once you hit level 60 for smithing training rs3, you will have three options; either create Orikalkum Plate Bodies from zero to the highest possible upgrade (requirement: 1330 Orikalkum Bars), upgrade Orikalkum Plate Bodies from +2 tier to +3 (requirement: Orikalkum Plate Bodies x67 and Orikalkum Bars x1340), or destroy the +3 Orikalkum Plate Bodies, which will require a total amount of 67.

Levels 70 to 80
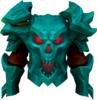
Once you hit level 70 in this 99 smithing guide rs3, you can either use a cheap but slower method by creating Necronium Plate Bodies from zero to the highest possible upgrade, a stable method by upgrading Necronium Plate Bodies from +3 tier to +4, or a fast and expensive method by destroying the +4 upgraded Necronium Plate Bodies. You will require 2500 Necronium Bars, 63 Necronium Plate Bodies & 2500 Bars, or 63 Necronium Plate Bodies, respectively.

Level 80 to 90

Once you hit level 80, you will again have three options; either create Bane Plate Bodies from zero to the highest possible upgrade (requirement: 4800 Bane Bars), upgrade Bane Plate Bodies from +3 tier to +4 (requirement: Bane Plate Bodies x120 and Bane Bars x4800), or destroy the +4 Bane Plate Bodies, which will require a total amount of 120.

Levels 90 to 99
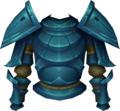
Finally, once you hit level 90, you can either use a cheap but slower method in this 99 smithing guide rs3 by creating Elder Rune Plate Bodies from zero to the highest possible upgrade (+5), a stable method by upgrading Elder Rune Plate Bodies from +4 tier to +5, or a fast and expensive method by destroying the +5 upgraded Elder Rune Plate Bodies. You will require 7690 Elder Rune Bars, 96 Elder Rune Plate Bodies & 7690 Bars, or 96 Elder Rune Plate Bodies, respectively.

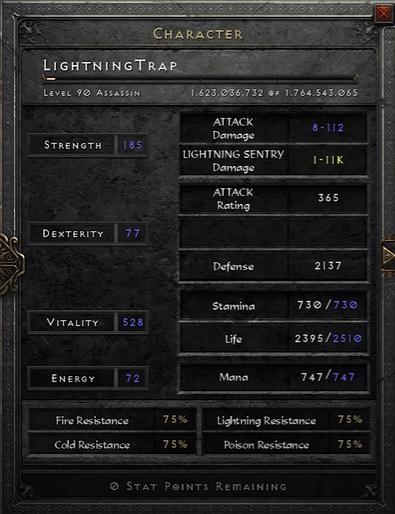
D2R Assassin Lightning Trap Build

The Assassin Lightning Trap Build is the end game build that can get a player through nightmare and hell difficulty levels.

While playing with this build, your main objective should be to move around the battlefield and lay traps to destroy your enemy targets. You’ll be utilizing the Lightning Sentry Trap to shoot lightning bolts and deal immense damage output. You’ll also be using the Death Sentry Trap to explode enemy corpses and fire lightning bolts.

The Assassin Lightning Trap Build is intended for nightmare and hell difficulty levels that start around level 40. It’s recommended that you start off with the Fire Trapper Build and then switch to Lightning Trap at a later stage, for the diablo 2 assassin lightning trap build. If you’re already doing that, and you want to switch to this build, you can do it by claiming the ‘Den of Evil’ reward from the NPC named Kara (Rogue Encampment). You’ll get 3 re-specs and you’ll need to be on the same difficulty level to claim it.

Stat Distribution

Similar to most builds on the Diablo 2 Resurrected platform, the stat distribution for this build will focus on assigning the attribute points into Strength so that the equipment requirements can be met, for the D2R lightning trap assassin. The remaining points will be added into Vitality for additional life points.

You’ll need to assign enough points in Strength to equip your equipment. It will entirely depend upon the gear that you’re using, as well as the additional Strength bonus you’re getting from it, for diablo 2 assassin lightning trap build. Dexterity will require no points because traps attack on their own, so you can move around to stay safe from enemy damage. The remaining points are going to be added in Vitality, and you don’t need to invest anything in Energy.

Important

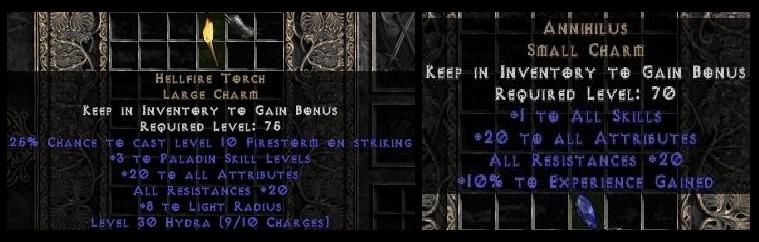
If you have a Hellfire Touch and an Annihilus; it will greatly reduce your attribute points investment in Strength, for diablo 2 lightning trap assassin build. Instead, you can utilize these two charms to obtain +10 to 20 points in every attribute and +10 to 20 points in Elemental Resistances. If you have both in your inventory, it’ll save about 20 to 40 stat points, which can then be used for Vitality to increase your health pool. The passive resistances that the charms offer will allow you to depend less on +All Resistance gear.
However, if you don’t have an Annihilus or a Hellfire Touch already, you need to stop what you’re doing and focus on obtaining them, for diablo 2 lightning trap assassin build. The perfectly rolled ones are quite costly, but you can always opt for the bad ones at an affordable price, and then upgrade it when you have enough gold.

Skills

Lightning Sentry fires powerful Lightning Bolts that pierce enemies in a straight line. Death Sentry is a trap that periodically fires Lightning Bolts and explodes to damage nearby targets. Burst of Speed enhances the Movement and Attack speed. Mind Blast is mostly utilized for crowd control as it stuns the enemies around a stable AOE. It also has a chance to convert them into allies, for D2R lightning trap assassin. Shadow Master summons a shadow, which randomly utilizes your skills to buff itself and fights.

Weapons, Armor, and Accessories

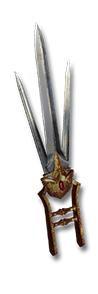
Lore (Runeword), Tarnhelm/Peasant Crown (etc.), Spirit (Runeword)/Katars (All Rarities), Ancient’s Pledge (Runeword), Stealth (Runeword), Gloves with defensive stats, Belt with Life and Resistances, Boots with Faster Walk or Run Speed, alongside Life and Resistances, Ring with Life, Stats, and Resistances, Amulet with Stats, Health, Resistances or additional Assassin/Trap Skills, and Charms with additional Life, Mana, and Trap Skills.

Max Level Equipment

Harlequin Crest (Unique), Heart of the Oak (D2R Runeword), Spirit (Runeword), Call To Arms (Runeword) + Spirit Shield (Runeword), Enigma (Runeword), Magefist (Unique)/Frostburn (Unique), Arachnid Mesh (Unique), Sandstorm (Unique)/Waterwalk (Unique)/War Traveler (Unique), and Mara’s Kaleidoscope/Crafted Amulet.

New World ‘The Depths’ Expedition Guide

Also known as the first dungeon in the New World that is actually challenging, ‘The Depths’ can only be cleared with the right guidance. You need to ensure that you have the perfect character build, alongside a reliable party that has a good understanding of the game’s mechanics. So, without further ado, let’s begin.

The First Room

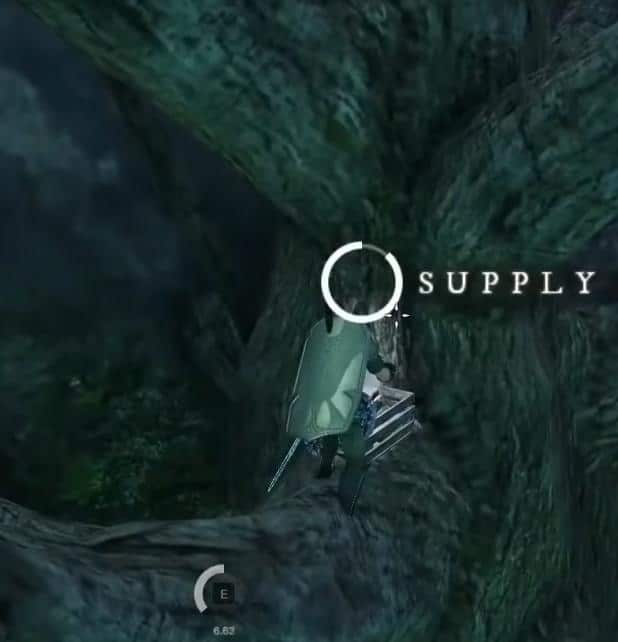
When you enter the expedition, you need to first climb a tree. You’ll find a chest there at the higher branches, which only takes a few seconds of your time. Now, you need to go left from there while killing every mob you encounter. You can utilize your Azoth Staff to activate the orb, and then return to the starting point with your party members to activate the central tower. A good suggestion would be to clear the room before activating it.

The Second Phase

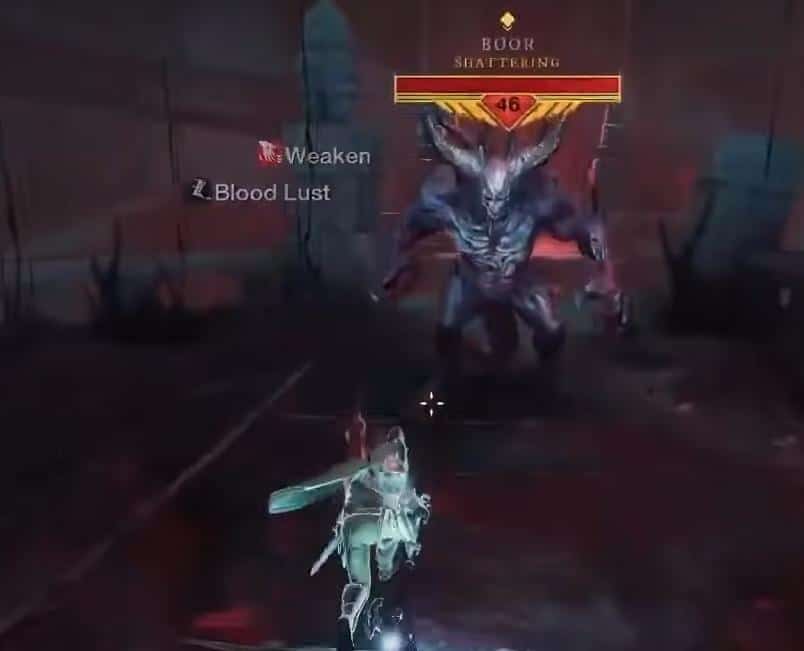
Moving along, you’ll encounter a mini-boss called Benat. You don’t need any real strategy or experience to deal with him. Simply have your tank deal with the AGGRO while others move behind the boss and defeat him. Next, you need to fight your way through the corridors until you encounter the next mini-boss called Boor.

He isn’t tough to defeat and there’s nothing special about him that you need to know. Ask your tank to deal with the AGGRO to pull him away from the other party members. Defeat Boor and go right to fight your way through a horde of mobs until you reach the teleportation area.

The Core

The teleporter will move you to the central area of the dungeon, which is known as the core. As soon as you teleport, you’ll find a hidden chest behind the right pillar. Open it and progress further. You need to be careful about some of the enemies as they hit hard, so make sure that your tank is around to deal with the AGGRO. Once the area is cleared and you’re at the end, you’ll come across another teleporter, which will transport you to a challenge room.

There will be a central switch that one of the party members needs to stand on, and when that happens several enemies will be summoned for amrine excavation. Ask your healer to stand in the center of your grouping, while everyone else pulls the mobs to the middle. Once the glyphs are all lit up and the enemies are dead, you can utilize the Azoth Staff to open the gates.

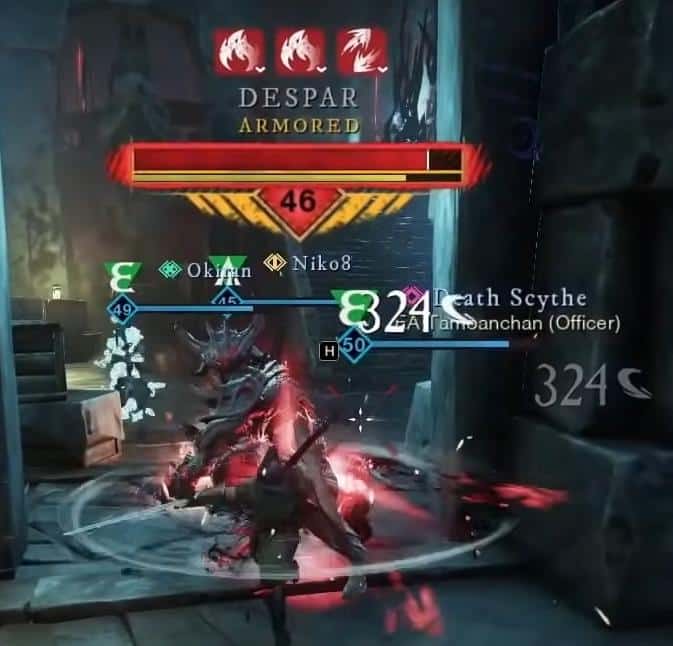
Defeat the enemies ahead and activate the next Azoth Seal to head upstairs. Stick right to locate the bonus boss called Despar. Similar to the other bosses you’ve encountered, defeat him and open the chest that is placed right of where the boss spawns. After he is defeated, cross the bridge, and walk through the corridor to reach the checkpoint. You’ll now be facing a challenging fight.

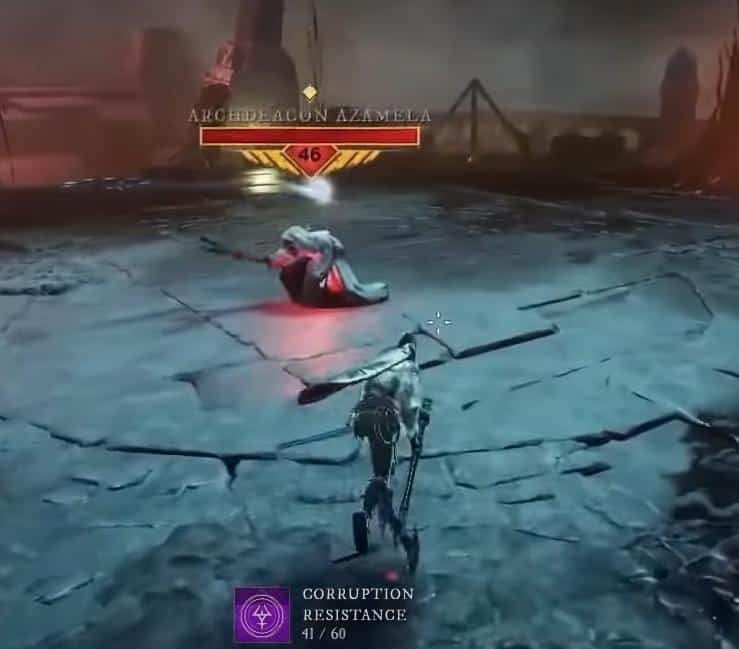
Archdeacon Azamela

The fight may seem easy and straightforward at first, as you need to deal as much damage as you can while killing the hounds that he summons. The Tank’s job would be to AGGRO him and divert his attention so that his dreadful spells won’t damage the other party members.

At half of his health, the boss will move to the center of the room and become invulnerable. He’ll start summoning mines, which is where the party needs to split up for amrine excavation. A DPS and the Tank need to be in the center to kill the spawned mines, while the other 3 party members utilize the teleporters to kill the mobs near the monolith. Once that’s done, an orb will spawn at the base and you have to destroy the monolith. After that, the 3 party members who used the teleporters need to return back to the center area. Also, don’t take too long to destroy the monolith or the boss will start to spawn several mines.

Repeat the same process a second time; however, the only difference is that there will be two teleporters and two monoliths. The two DPS who aren’t focused on the monolith needs to help destroy the mines in the central platform with ranged.

Thorpe

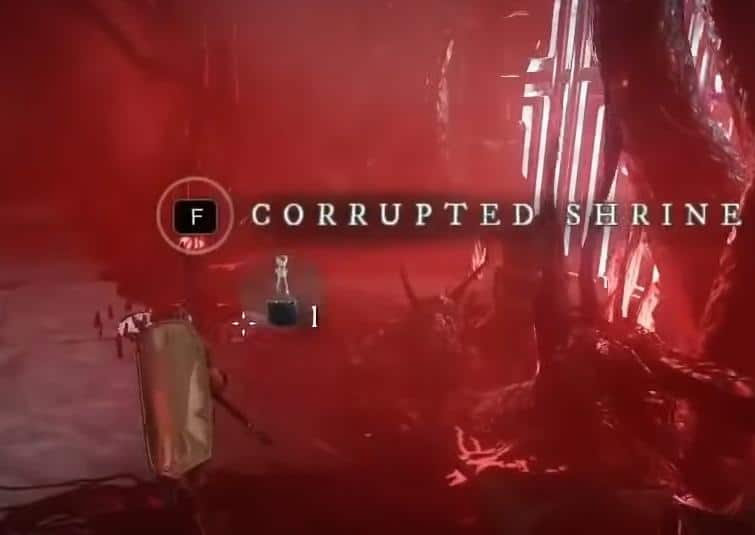
Once the Archdeacon is defeated, loot the chest to obtain Thorpe’s Key, and then head down the passage to access the next teleporter for new world expedition list. Use it to reach back to the core and fight your way around it until you come across the Corrupted Shrine. Use the obtained key on the shrine to expose the Carapace at the heart. Destroy it and teleport up, and before you do that, open the chest within the heart of the core.

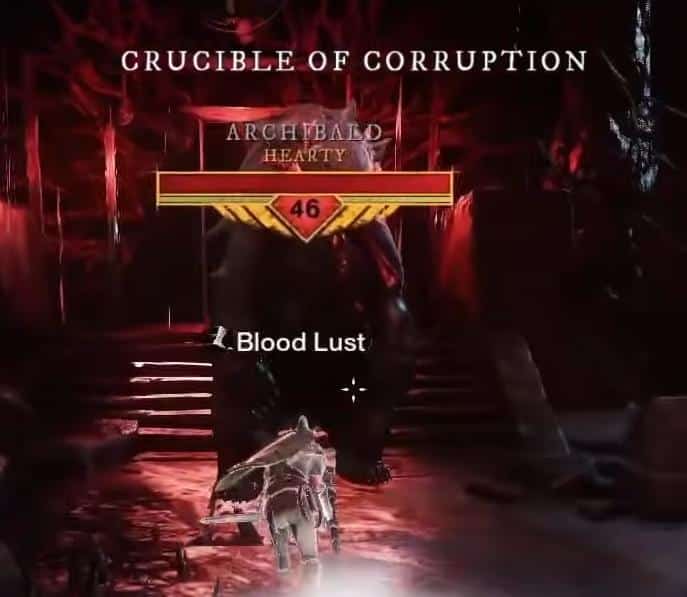
Once you’re through, kill a Corrupted Bear that is named Archibald, and then fight your way to the next monolith for new world expedition list. Three of the party members need to use their Azoth Staves to destroy it. Finally, run straight into Thorpe’s room.

The Final Boss

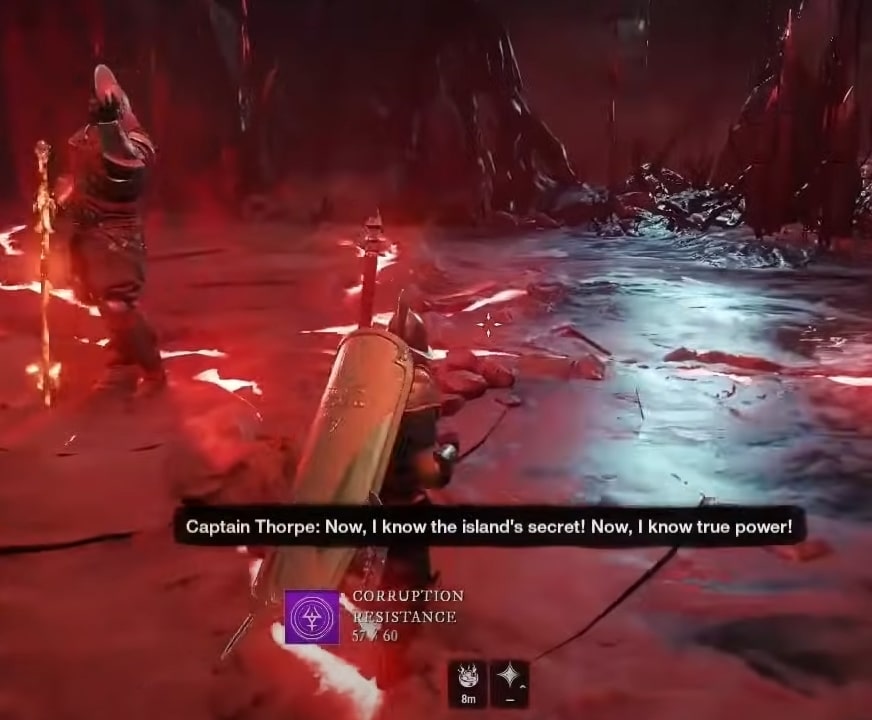
Commander Thorpe is a powerful boss that deals immense damage upon his enemies. While the tank is entirely focused on the commander, you need to be quick with the dodge button to block Thorpe’s attacks for new world expeditions. There are a total of three phases so the fight is going to be long.

The best strategy to defeat him would be to spread across the room. If you encounter a few melee-based mobs, you need to make sure that you’re behind the boss while attacking. Also, watch out for the Corrupted Blast attack, where he stabs his sword into the ground to launch a telegraphic attack. You can figure out the attack as he says ‘Time to tase corrupted steel’ before launching it for new world expeditions. Besides that, watch out for when his actions point at you because that’s when he casts an energy blast.

When he says ‘This will be the last time we meet,’ he’ll move to the center of the room and summon two dreadful mobs. The tank needs to AGGRO these two monsters, while the team defeats them. The most devastating move of Commander Thorpe is when he shoots a laser out of his fingers. You’ll know when the attack is coming as he says ‘Prepare to have your soul crushed.’ Since the attack sweeps up and covers the entire room, you need to quickly move behind him. Finally, once the boss is defeated, the dungeon will officially end.

OSRS 1 to 99 Construction Guide

Construction is a very upfront skill to train as it’s effortless. However, the costs to level up are significantly higher than the others. You can either train it in bits or take up the skill at the very end of your journey.

Honestly, it’s not worth training Construction if you’re just going to end up broke. You also need to learn the ways to the intensive clicking and rhythm to get peak efficiency. Anyhow, we’ve broken down the best ways to train in this guide. We hope it helps make the grind easier!

Level 1 to 8

You can skip the early levels of making chairs by completing the quest called Daddy’s Home. It grants you about 944 Construct XP, as well as a house if you don’t already have one.

Level 1 to 4

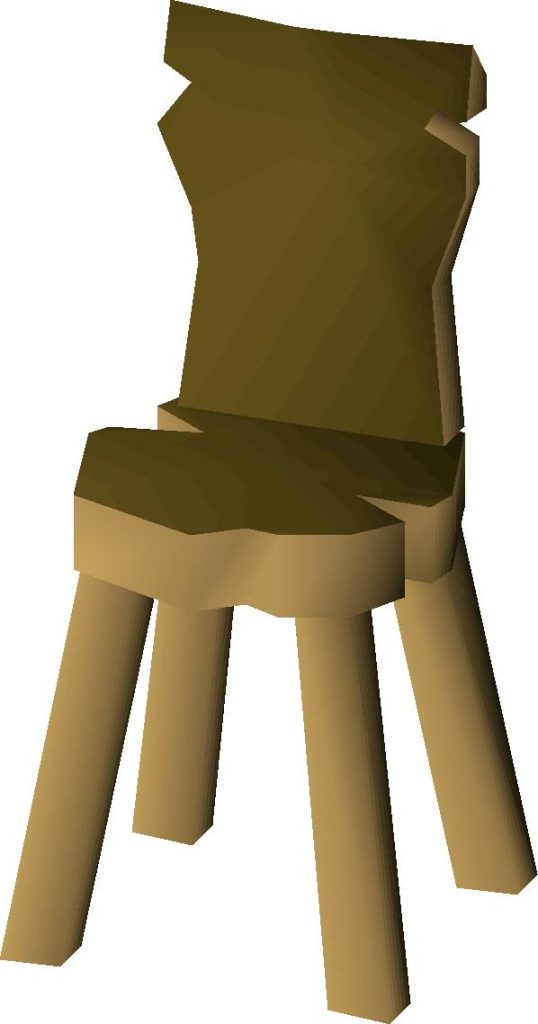
Starting out you need to first purchase a house in either one of these areas: Varrock, Seers’ Village, Falador, Prifddinas, Ardougne, or Hosidius. Once done, grab a hammer, a few nails, and some planks to start building Crude Wooden Chair until level 4. You need to switch to ‘building mode’ first.

Level 4 to 9 or 8 to 9

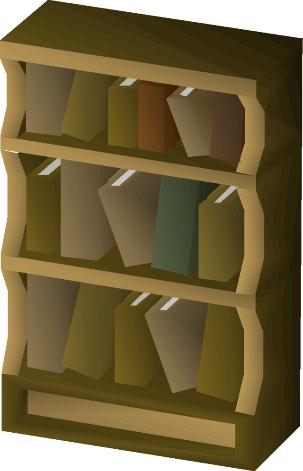
At level 4, start making Wooden Bookcases in the parlor area of the house. If you’ve completed Daddy’s home, and you’re already level 8 Construction, then only make four Bookcases to get the level you need.

Level 9 to 15

Now, head to the kitchen area of your house and start building seven Wooden Larders until level 15 Construction. You can stop using normal Planks and Steel Nails after this.

Level 15 to 22

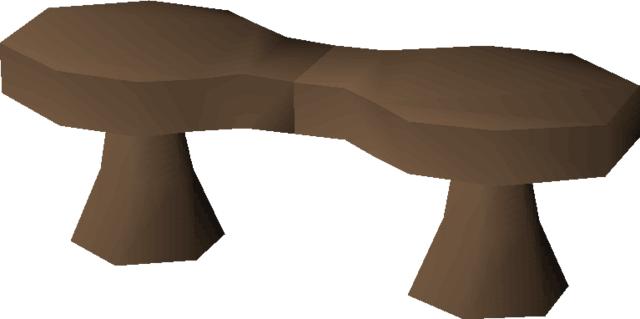
At level 15, head to the workshop area and repair three benches using Oak Planks. Next, switch to Crafting Tables at level 16 and move on to the next once you reach level 22.

Level 22 to 33

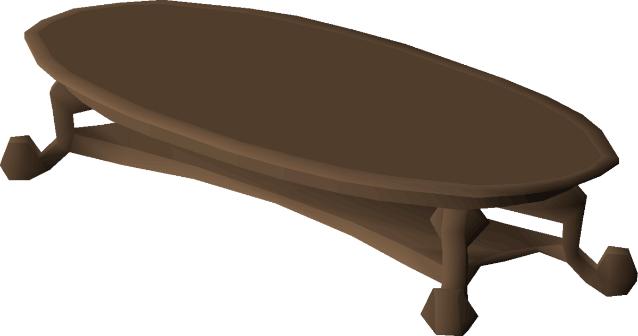
At level 22, you can start building Oak Dining Tables. You need to do this in the dining room, and it’ll take you exactly 39 tables to reach level 31. Next, switch to 10 Carved Oak Tables till level 33.

Level 33 to 52 or 74

Now you need to decide on whether you need the best XP per hour at the cost of your money or another approach that cuts down the cost.

First, start building Oak Larders in the kitchen area until you reach level 52. You need to make about 220 of them to reach the end goal. If you want to prioritize XP now, then move on to the next method, or else continue making Oak Larders (2,246) till level 72 to cut down the costs.

In between, when you’re at level 40, you can pause the grind and head to the Servant’s Guild (East Ardougne) to recruit a butler. You can have him bring the planks from your bank for you, basically saving time to run back and forth.

Level 52 to 77 or 99

At level 52, you can start building Mahogany Tables. You need to make about 15,370 tables to reach 99 Construction and 1,610 tables to reach level 77. The duration of the grind depends on your efficiency.

Position yourself to the northwest frontside of the table space. The middle space should be positioned to the left of the bottom of your toolbar. This way, you can easily right-click and select the build option without having to move your mouse.

At level 58, can build your servant a moneybag in the corner of his/her bedroom. Fill it with a huge stack of OSRS GP and the servant will no longer bother you. We recommend using the Demon Butler at this stage.

Level 77 to 99

If you’re a hardcore player looking for quick levels, then you can switch to Gnome Benches at level 77. You need to construct a Superior Garden and stand in the space between the two benches. Cycle between the two to get around 1.1M XP per hour. But hey, you’re going to feel a whole lighter considering it costs about 158M OSRS Gold till level 99.

Level 74 to 99

Alternatively, if you’re low on GP, you can head for the dungeon. Position your character on the left side and in front of the dungeon building space. Keep your cursor in the same spot as how you were doing it with Mahogany Tables, and finally, start building! Also, make the best use of your Demon Butler to fetch your planks. You’ll need to make around 19,897 Oak Dungeons to get to level 99 Construction.

Conclusion

There are several other ways to level your Construction, but the method we’ve mentioned above is known to be the best in terms of efficiency. Either way, whichever path you choose, you’re still going to lose money. Make sure you have stacks of Runescape Gold before you begin. Good luck!

World Of Warcraft Private Servers Are Being Attacked

For quite a while, World of Warcraft has been a pretty easy game to find private servers for, and the private servers have been quite secure and successful. Lately, however, it appears as if Blizzard is trying to crack down on the owners of these private World of Warcraft servers.

In case you’re not completely familiar with what private World of Warcraft servers are, these are servers that aren’t owned by the actual creator of the game, but are instead owned by anyone who wishes to purchase a server from another source and put the game on it for others to play. The original creator does not profit from the server, however, they do still get the game sale, because players will still need the disc to play the game.

Blizzard obviously is going to try and absorb every penny they can get out of the creation of the World of Warcraft, and therefore is going to do everything in their power to eliminate the threat of the private realms out there. If you didn’t already know, there are easily over 200 private World of Warcraft realms active to date, and they are constantly increasing.

What is Blizzard going to do about this? They clearly don’t want to lose money, even though they already have millions of subscribers all paying 15 dollars per month of playing time. So what do they do? They go and attack the only way players will be able to play without having to give their heart-earned money to Blizzard every month.

Most recently, Blizzard has attempted to attack the biggest private servers out there, with several thousand players on them. Blizzard has been sending a DMCA lawfirm, or “Digital millennium copyright act”, and these lawfirms basically enforced that the private realms are immediately shut down. The servers which have already been affected by the DMCA notice are chaoscrusade, toxic-wow, Ani-wow, wowfusion, wowgasm, burningwow, and wowscape. All of these servers were amongst the biggest, and now players are either completely unable to play, or are constantly searching for the next best private realm.

It’s very possible that some of these players decided to go and purchase the retail version, as well as start paying the monthly fee for the game. However, these players might not even be as satisfied as if they were to be playing the private World of Warcraft servers that they were already playing.

Is it wrong for Blizzard to do this? Well, I think it is, however, under copyright law, this is to be expected. What Blizzard has over all of these gamers is practically a monopoly. Once you play World of Warcraft, you’ll do almost anything to play, even if it requires paying the high sums of money Blizzard now asks for the games, and monthly gaming fees.

I hate the fact that Blizzard can’t just allow people that purchase the retail version of the game to have fun and play on private servers, but whatever they need to do to get more money is what will happen. I suggest playing on a very down-low server, or paying for retail, if you must.